I told my husband that this would be the last year that I ask him to help me make our giant Dollar Tree Christmas ornament balls for all of our grand-folk. That’s 3 total ornaments + 3 hand prints per ornament = 9 opportunities for disaster! I made the first ornament for Snickerdoodle’s first Christmas as a keepsake gift for each of his three sets of first-time grandparents. He’s now 4 & 1/2 years old and we’ve added two more kiddos to our crew. It just seems like when I was a first-time parent I had more energy and patience for this sort of project! At any rate, here we go again…
Supplies Needed:
1. Giant Christmas ornament ball from the Dollar Tree (they have several colors/styles to choose from)
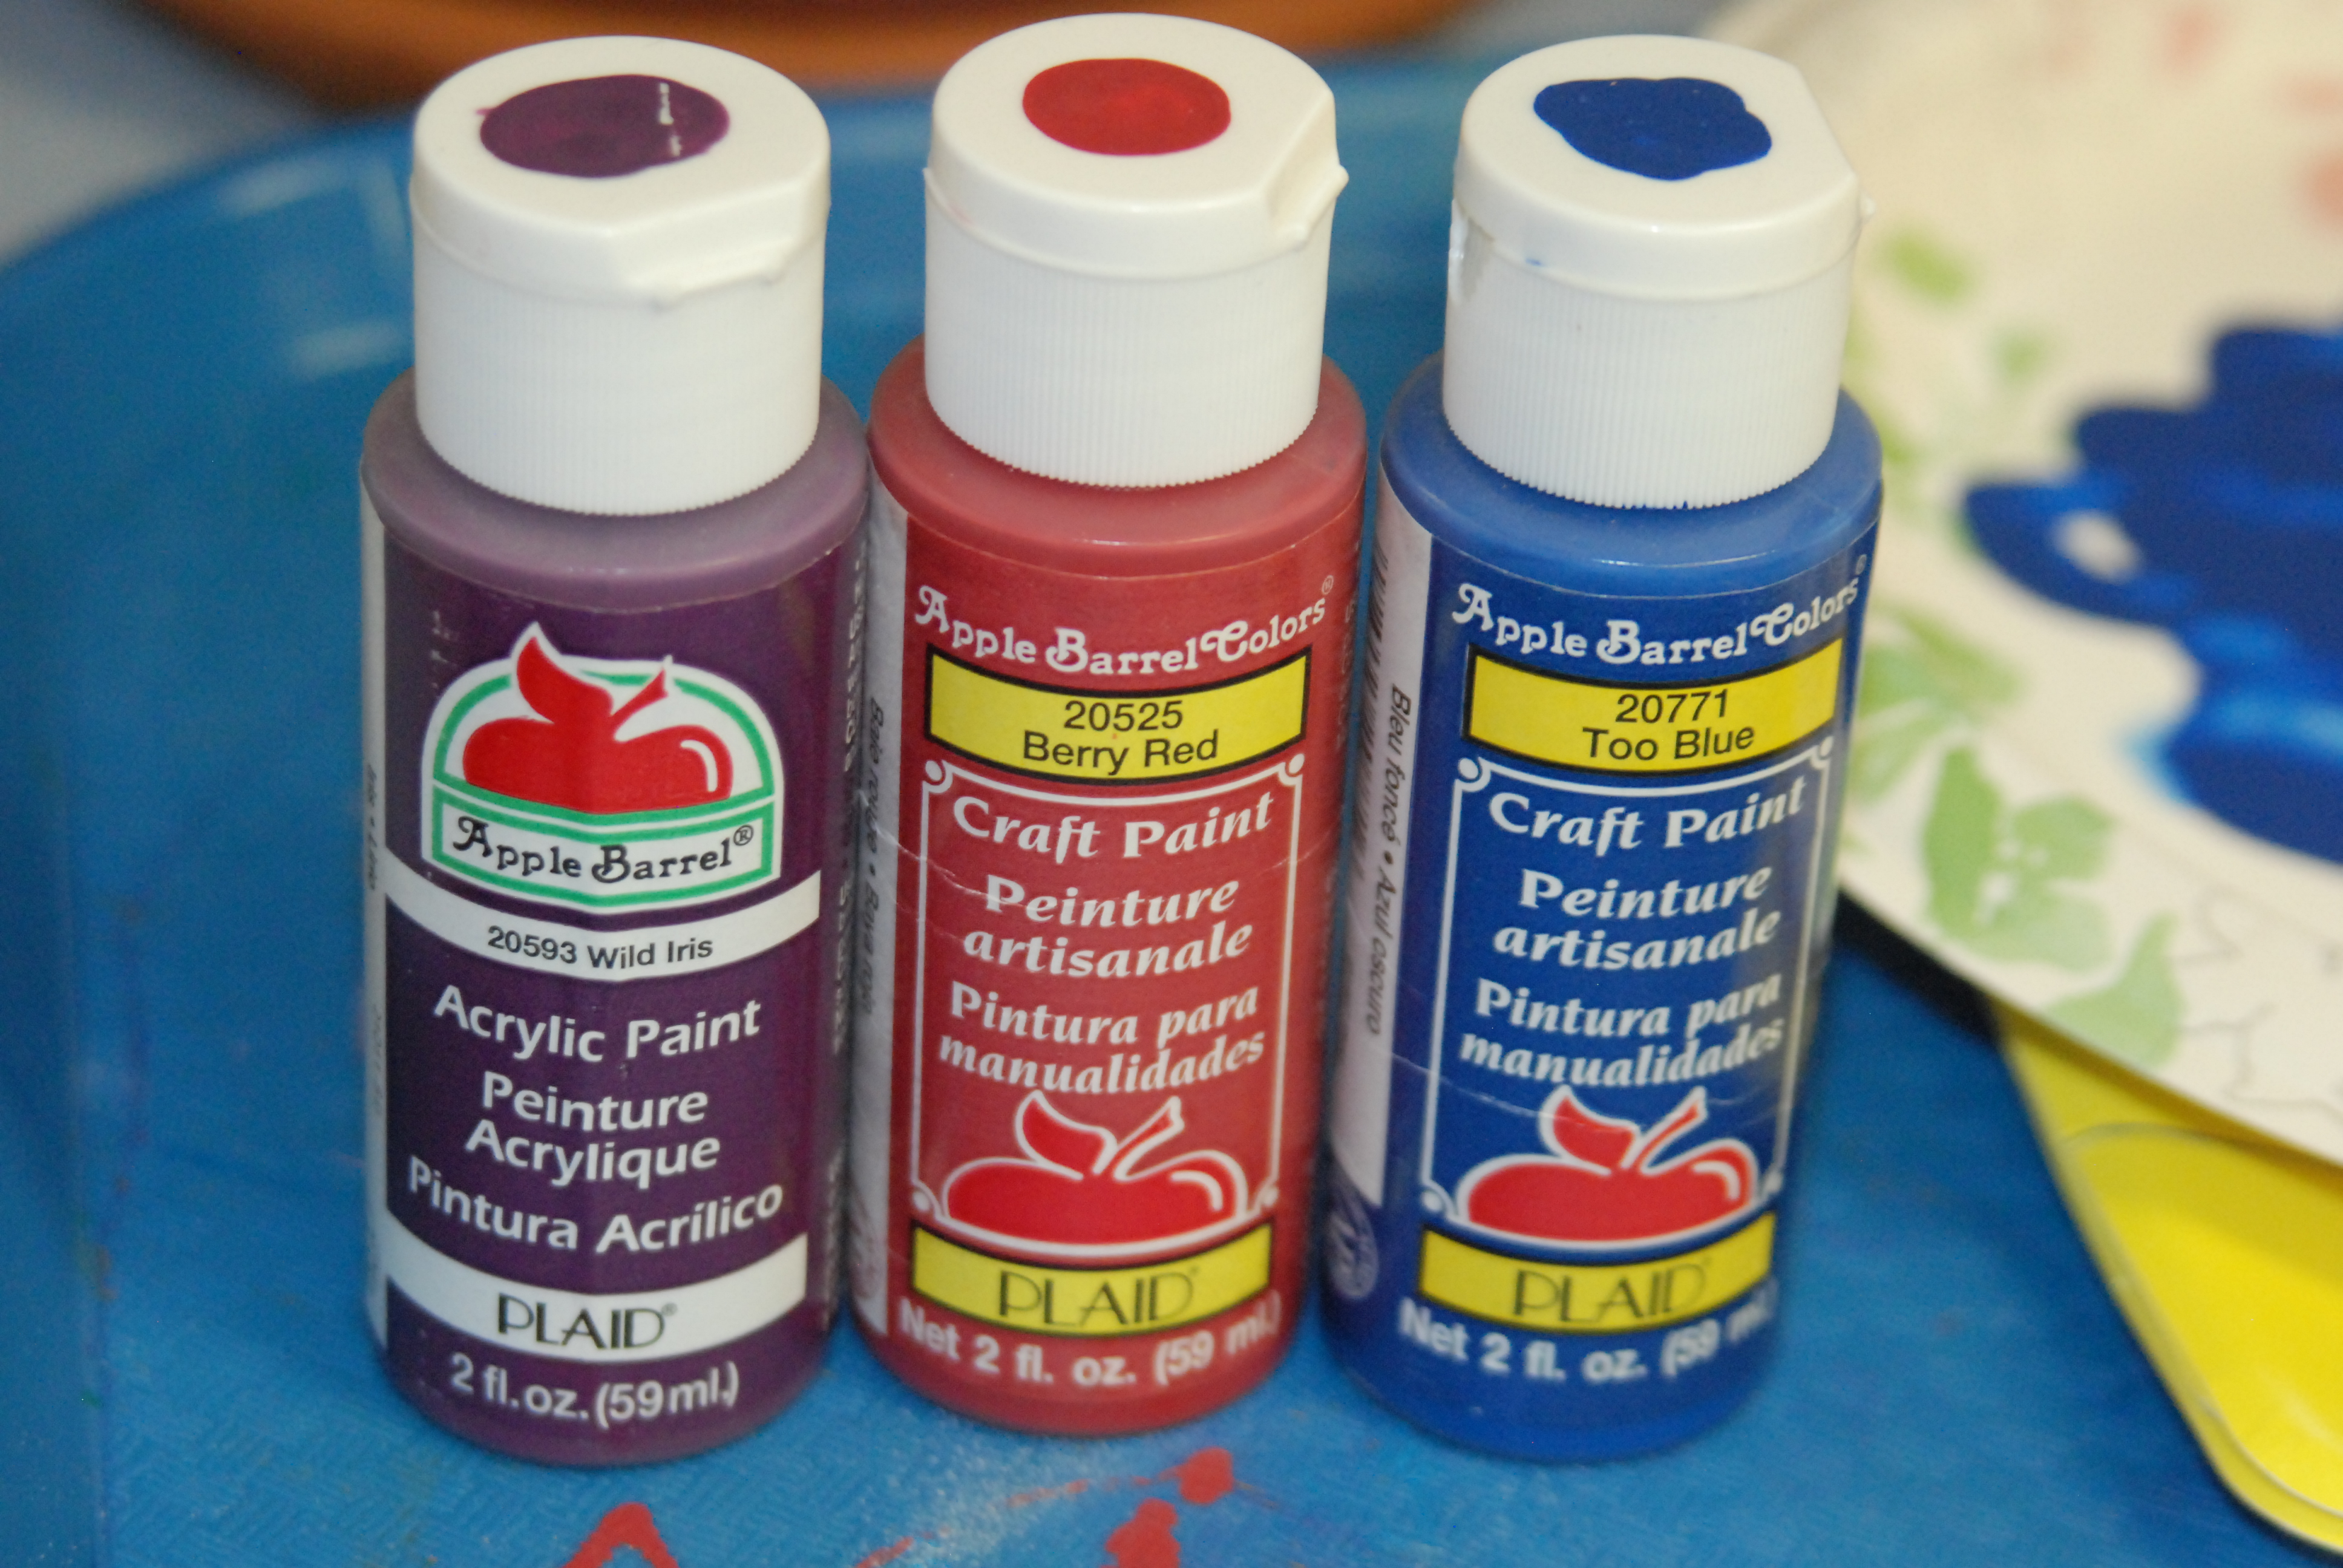
2. Acrylic paint from “my stash” (you can buy it at places like Michael’s, Wal-mart, & JoAnn’s)
3. Paper plates for smearing paint onto hands
4. Something to protect your work surface
5. Wet rag/wash cloth
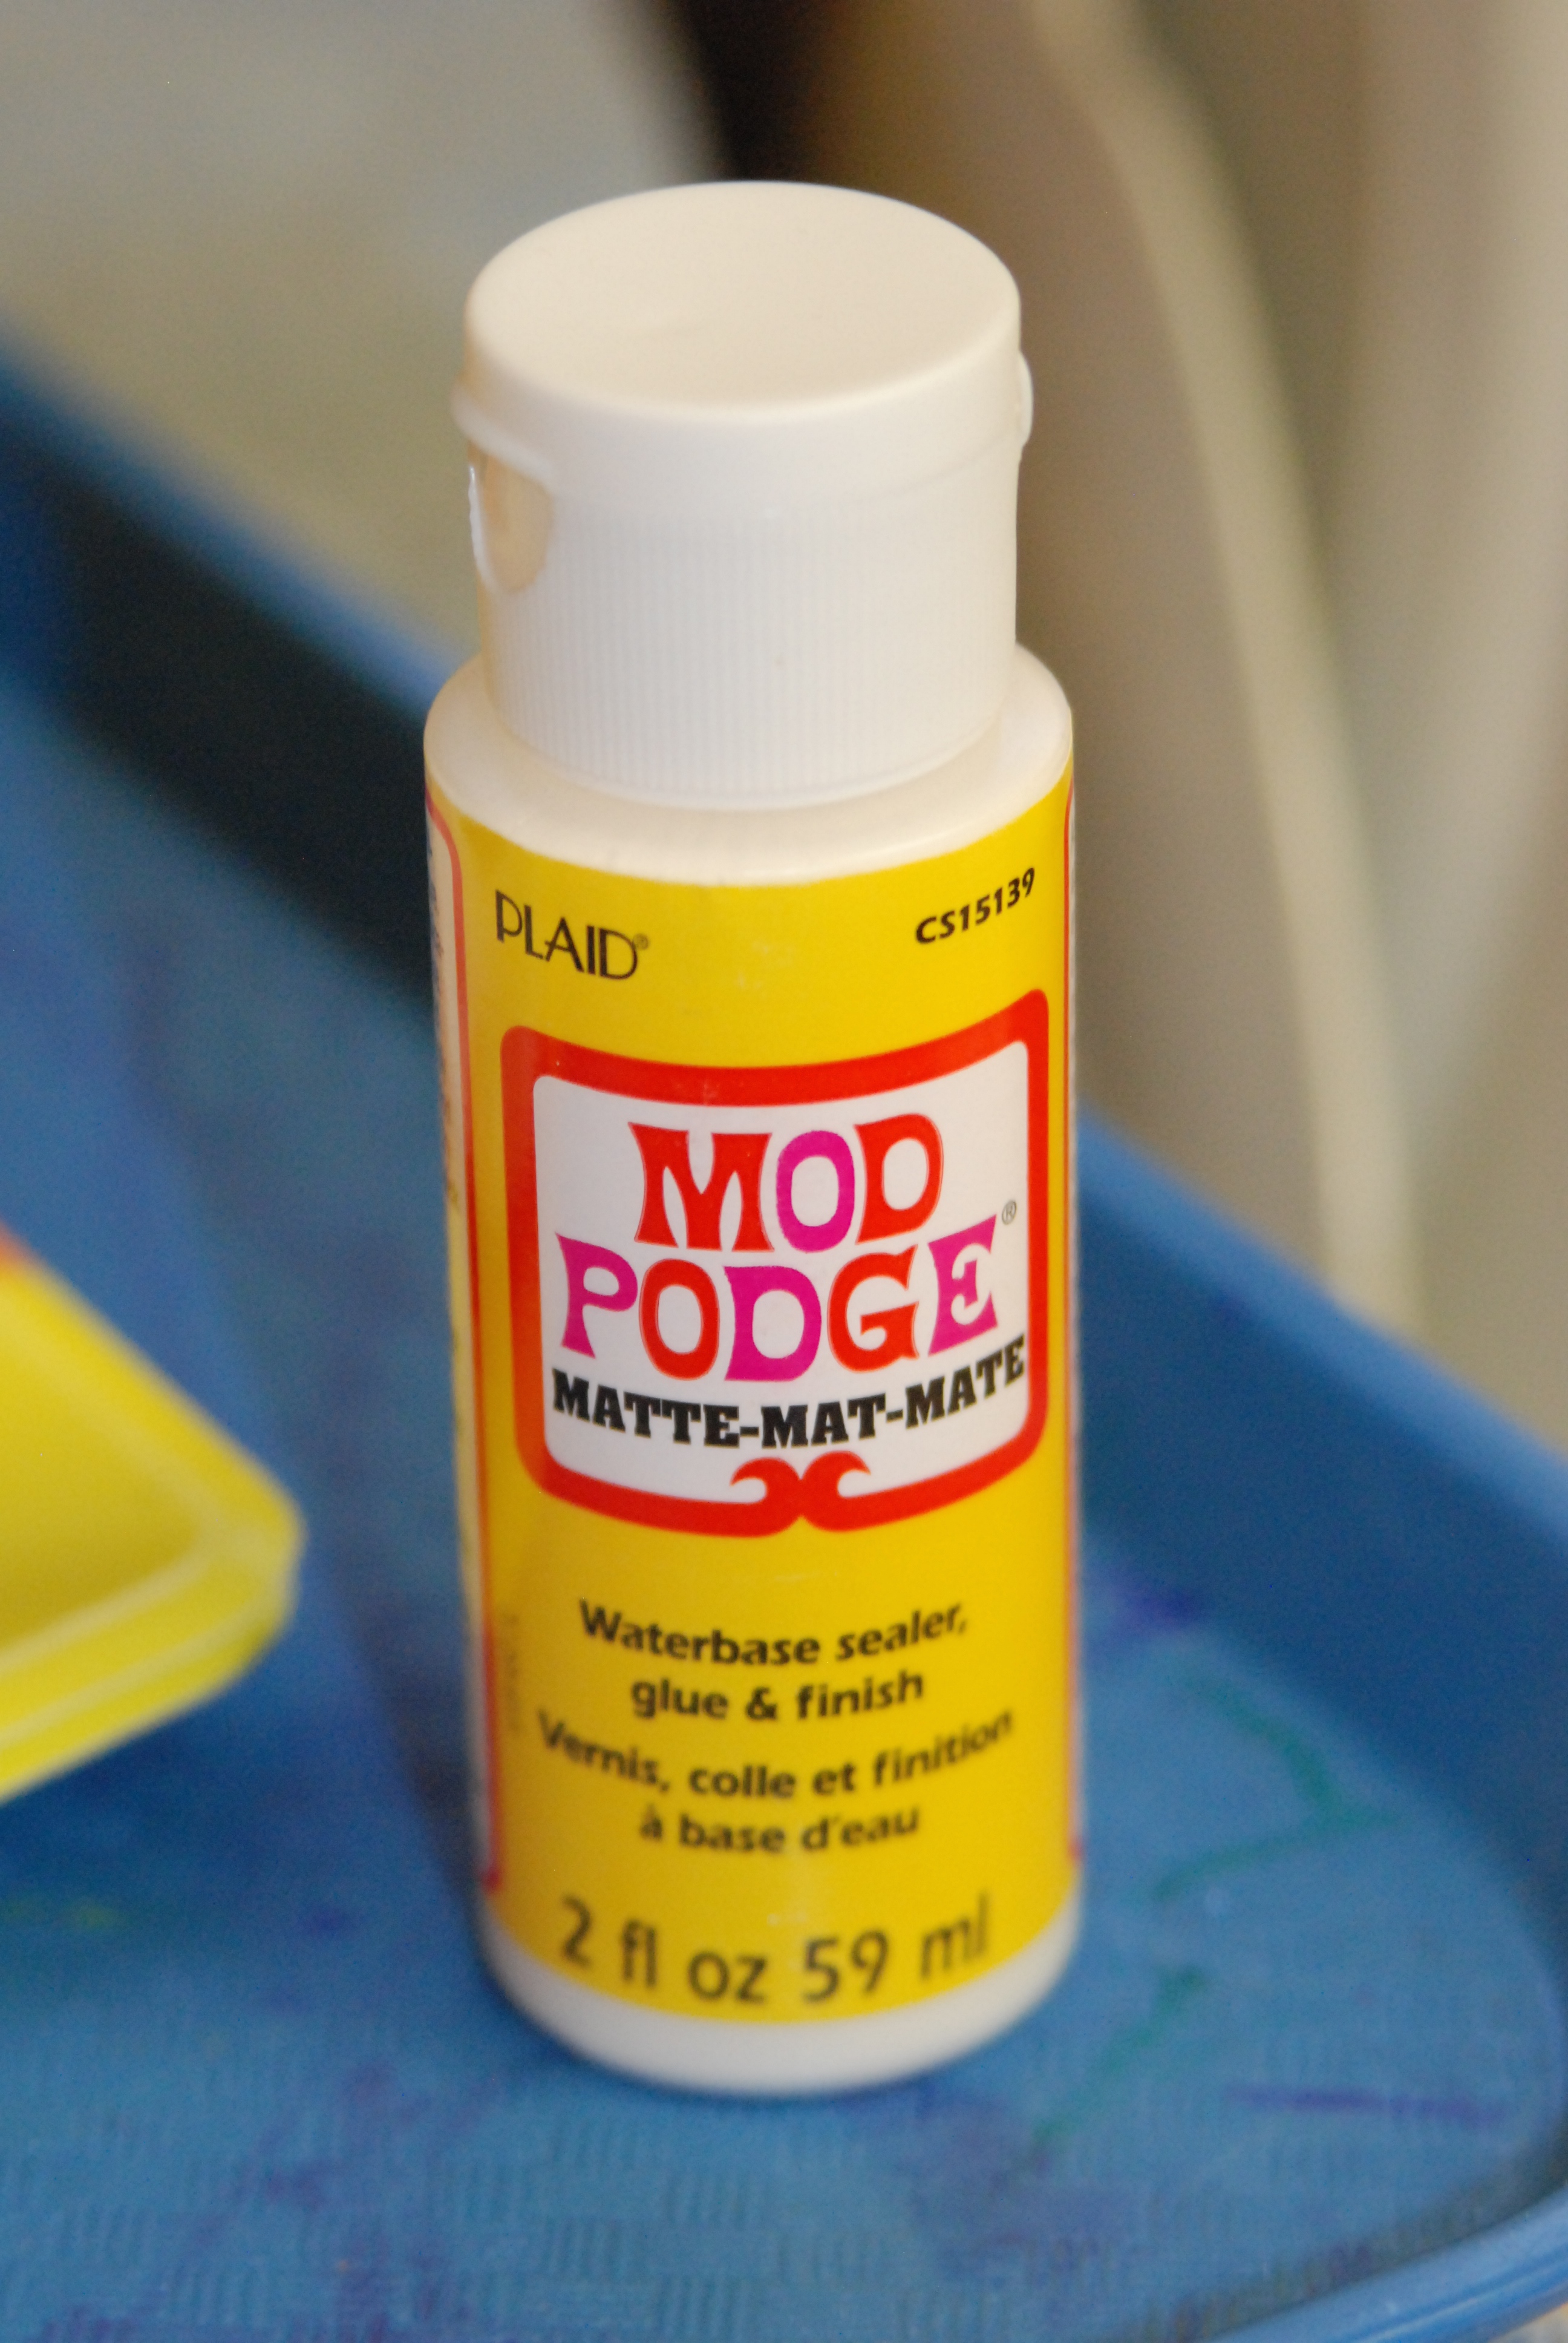
5. Mod Podge (I found some at the Dollar Tree but usually get it at Michael’s, JoAnn’s or Wal-Mart)
Instructions:
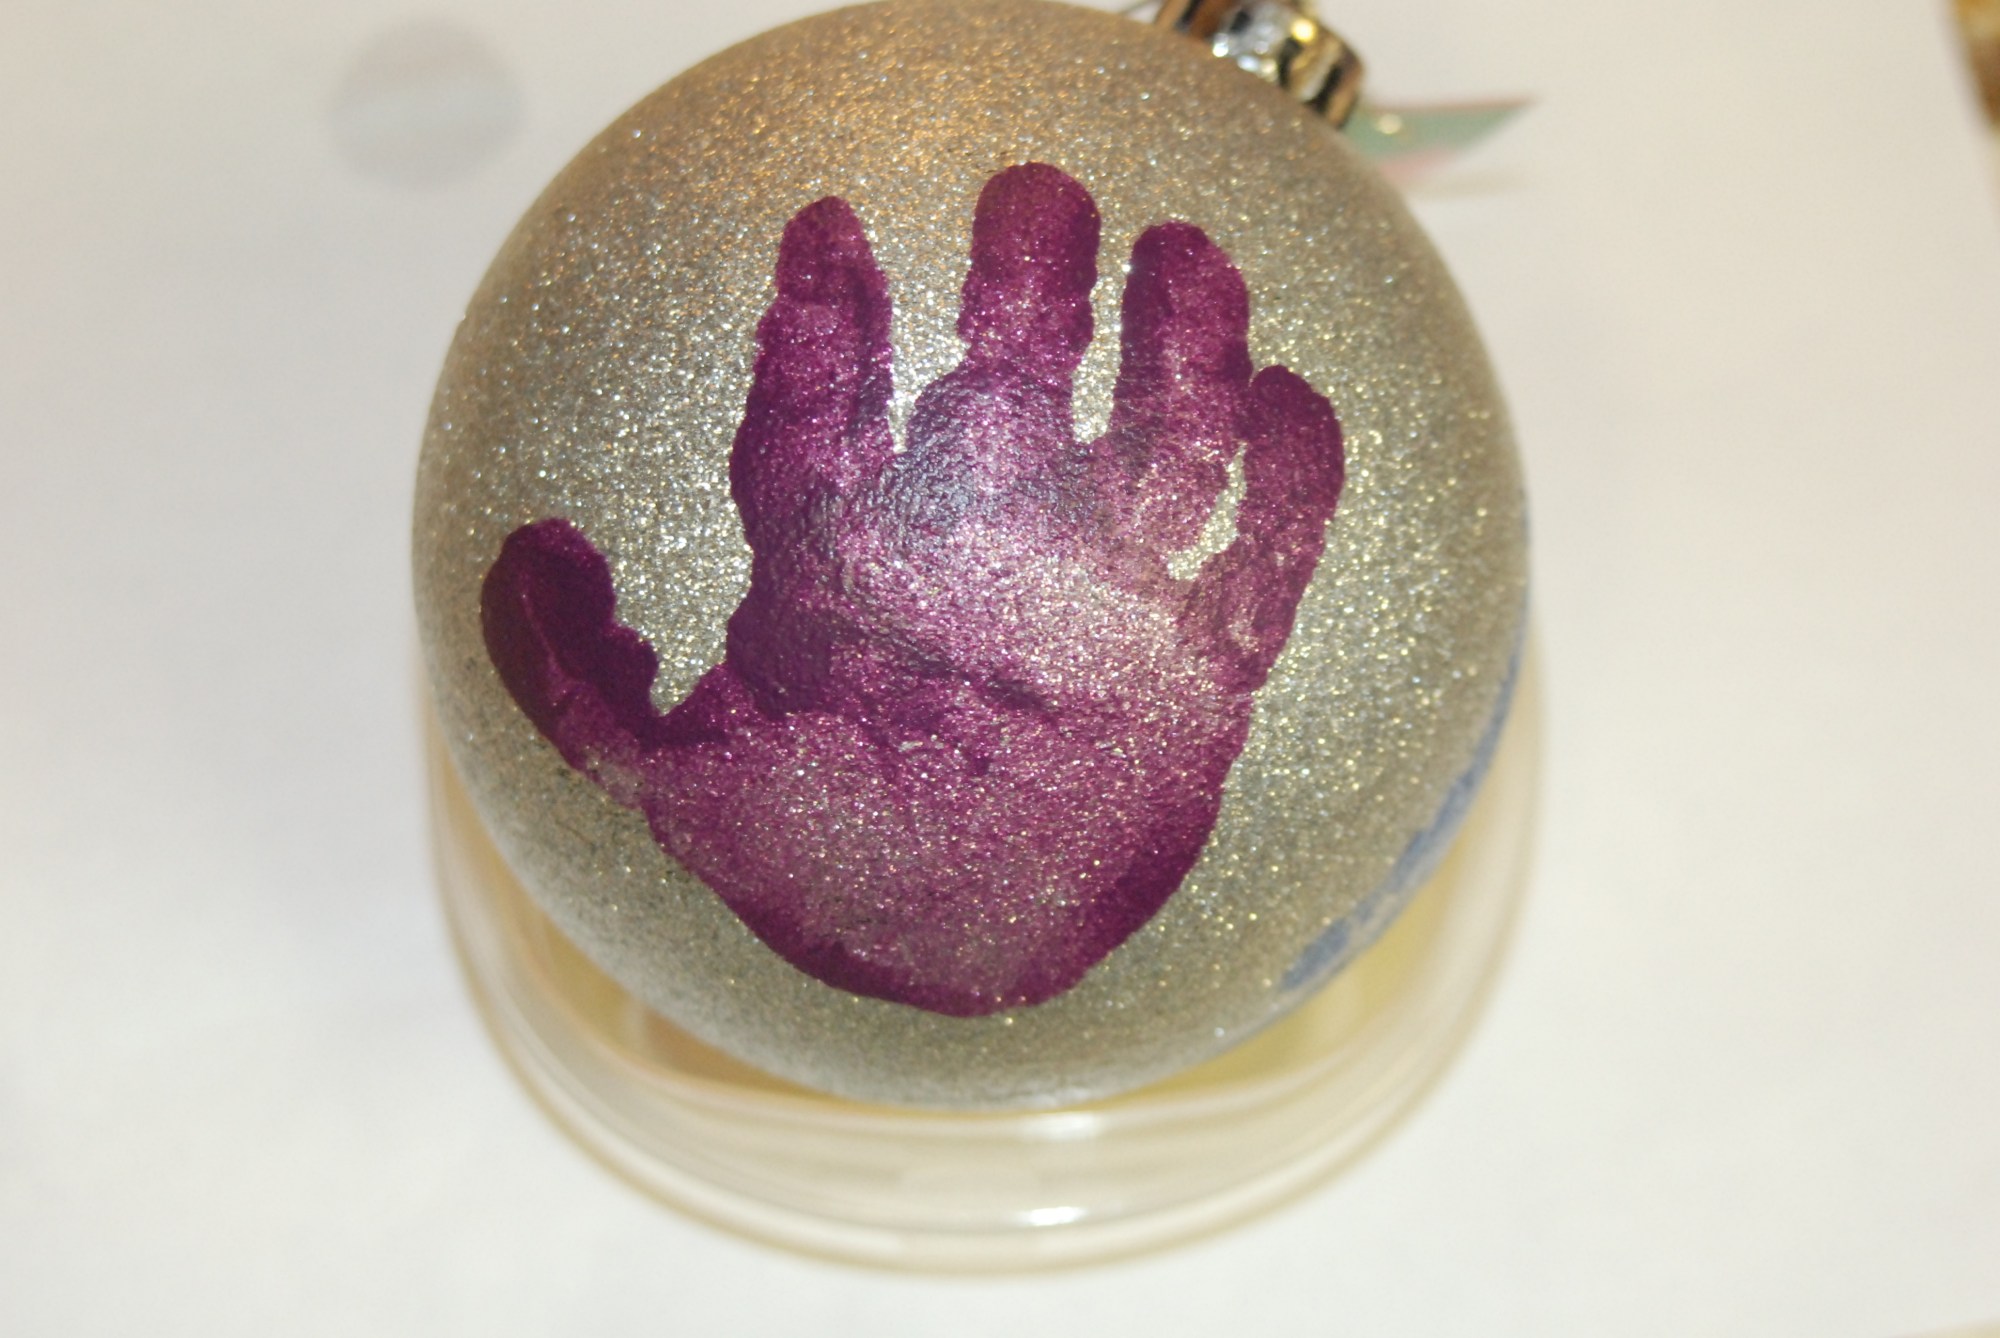
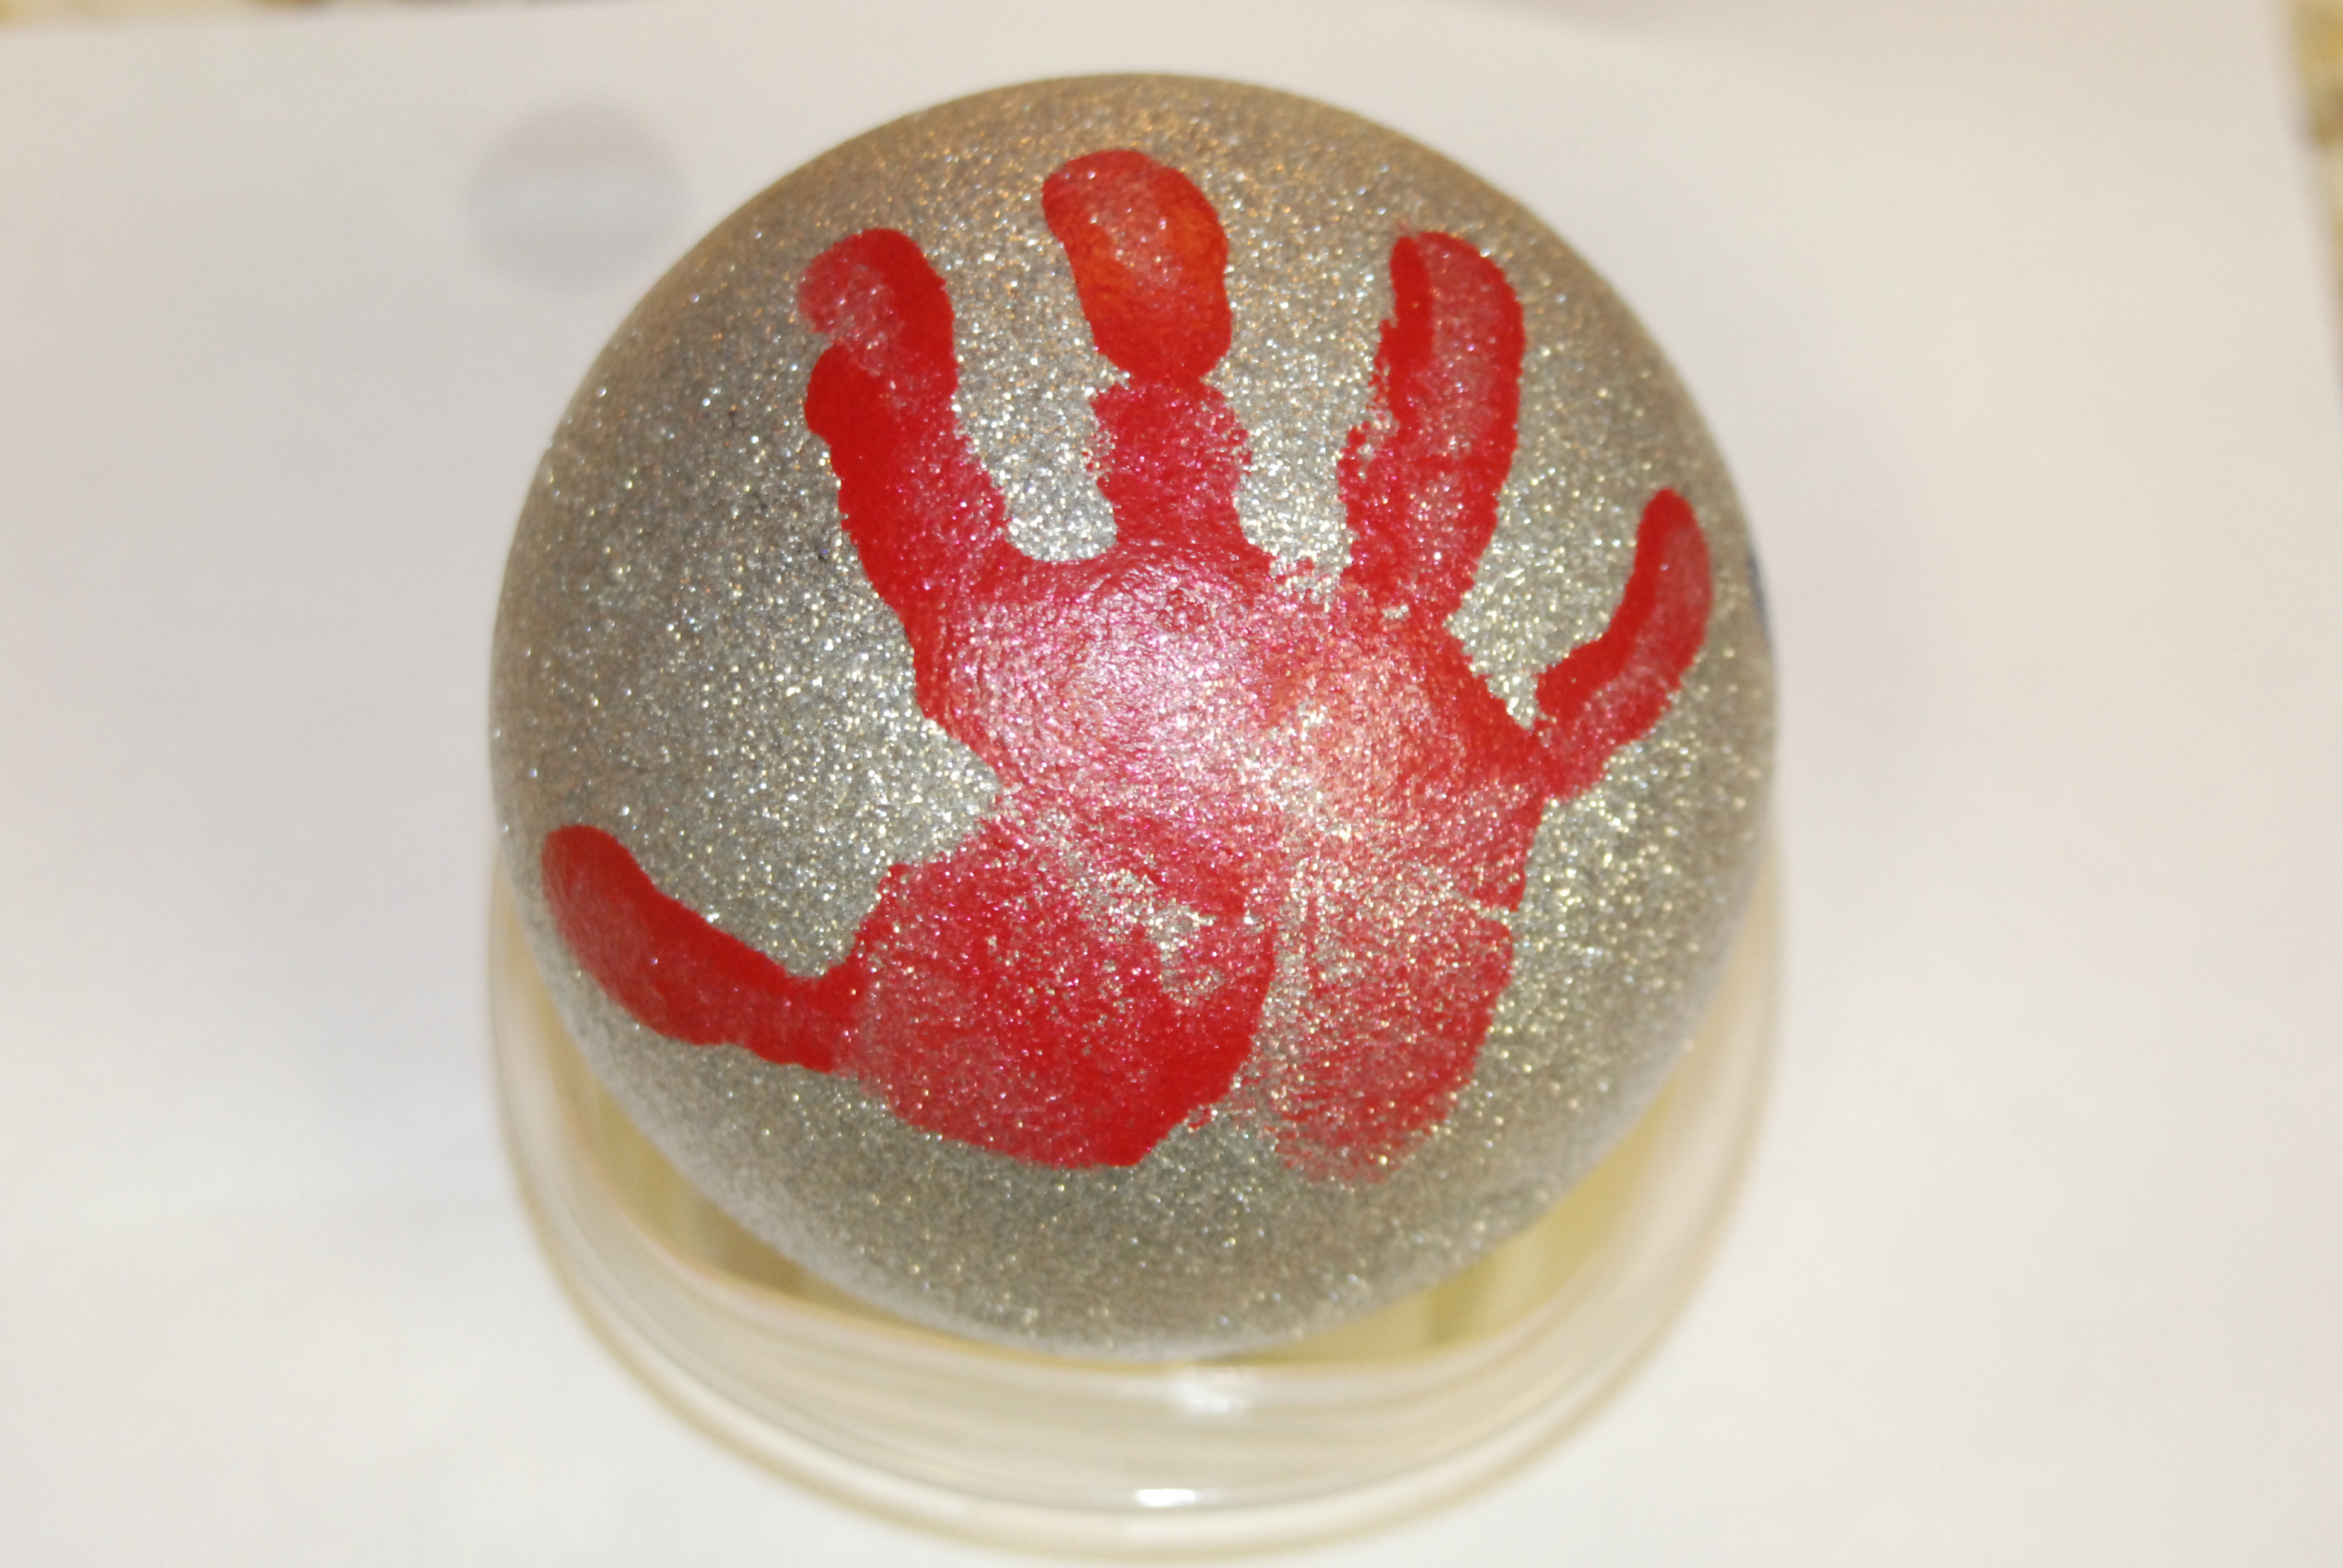
Step 1: Let your children choose the color they want to make their hand print. You could choose for them if they are too young to know the difference or if you have the type of children who like it when you tell them what to do. In order to make this project go as smoothly as possible, I let my two oldest pick their own colors. Trust me on this one, it does not matter if the colors match or if they aren’t the colors you would have chosen or whether or not they match Grandma’s other Christmas decor. That being said, choose an ornament in a neutral color. I chose metallic silver glitter (one of my favorite “neutrals”). My kiddos were really excited about their colors. To get things off to the right start I gave them lots of praise and happiness over their magnificent choices. I also told them how well they were listening to instructions and what great helpers they were and how much Grandma was going to love these. When I felt like they were sufficiently enthusiastic and eager I quickly moved to the next step so I wouldn’t loose momentum.
Step 2: Squiggle some paint onto a paper plate and let one child (please just one child) get the palm of one hand (please just one hand) get all paint-y and gooey and marvelous. I let my oldest go first to “show the other two how to do it properly”.
*Step 3 for Toddlers/Preschoolers +: Have the child “palm the ball” with outstretched fingers. Children’s paint-y hand prints seem to turn out best if you gently press down on each of their fingers (if they will hold still long enough). Toddlers don’t typically understand the idea of applying even pressure to each finger by themselves. Thus, we have done many hand prints with missing fingers (usually the pinky or the thumb).

Step 4: Rush the ornament, now covered in wet paint, to a predetermined location to dry. Do this step as fast as you possibly can while at the same time saying things like, “Keep your hand in the air, sweetie! Don’t touch anything, darling”! My favorite drying location is the hood above my stove. I use a clip magnet and hang the ornament by the price tag. This way the hand print will dry without me having to worry about it rolling around. There are other ways to keep the ball from rolling around while it dries, but this is the fastest way to get the thing up and out of reach before disaster strikes.

Step 4 & 1/2: Take the happy child by the wrist and guide them to the nearest sink to wash the paint off before they touch anything! Alternatively, you could cover your work surface with kraft paper and let them “go to town”. The paper would be adorable to use as gift wrap. I just didn’t have the energy for that kind of “fun” this year!
Step 5: Take a deep breath. Let the paint dry. Clean up any spills, smudges, paint in hair, paint on noses, etc… Repeat steps 2-5 with remaining children.
Step 6: Cover the entire ornament with a layer of sealer like Mod Podge. This step is important because the glitter will fall right off the ornaments from the Dollar Tree taking the hand prints right off with them. Note that if you get a matte colored ornament it will not stay that way when you apply the Mod Podge, it will turn it all shiny. Let it dry.
Step 7: Write the kid’s names and the year on the dry ornament with a permanent marker.


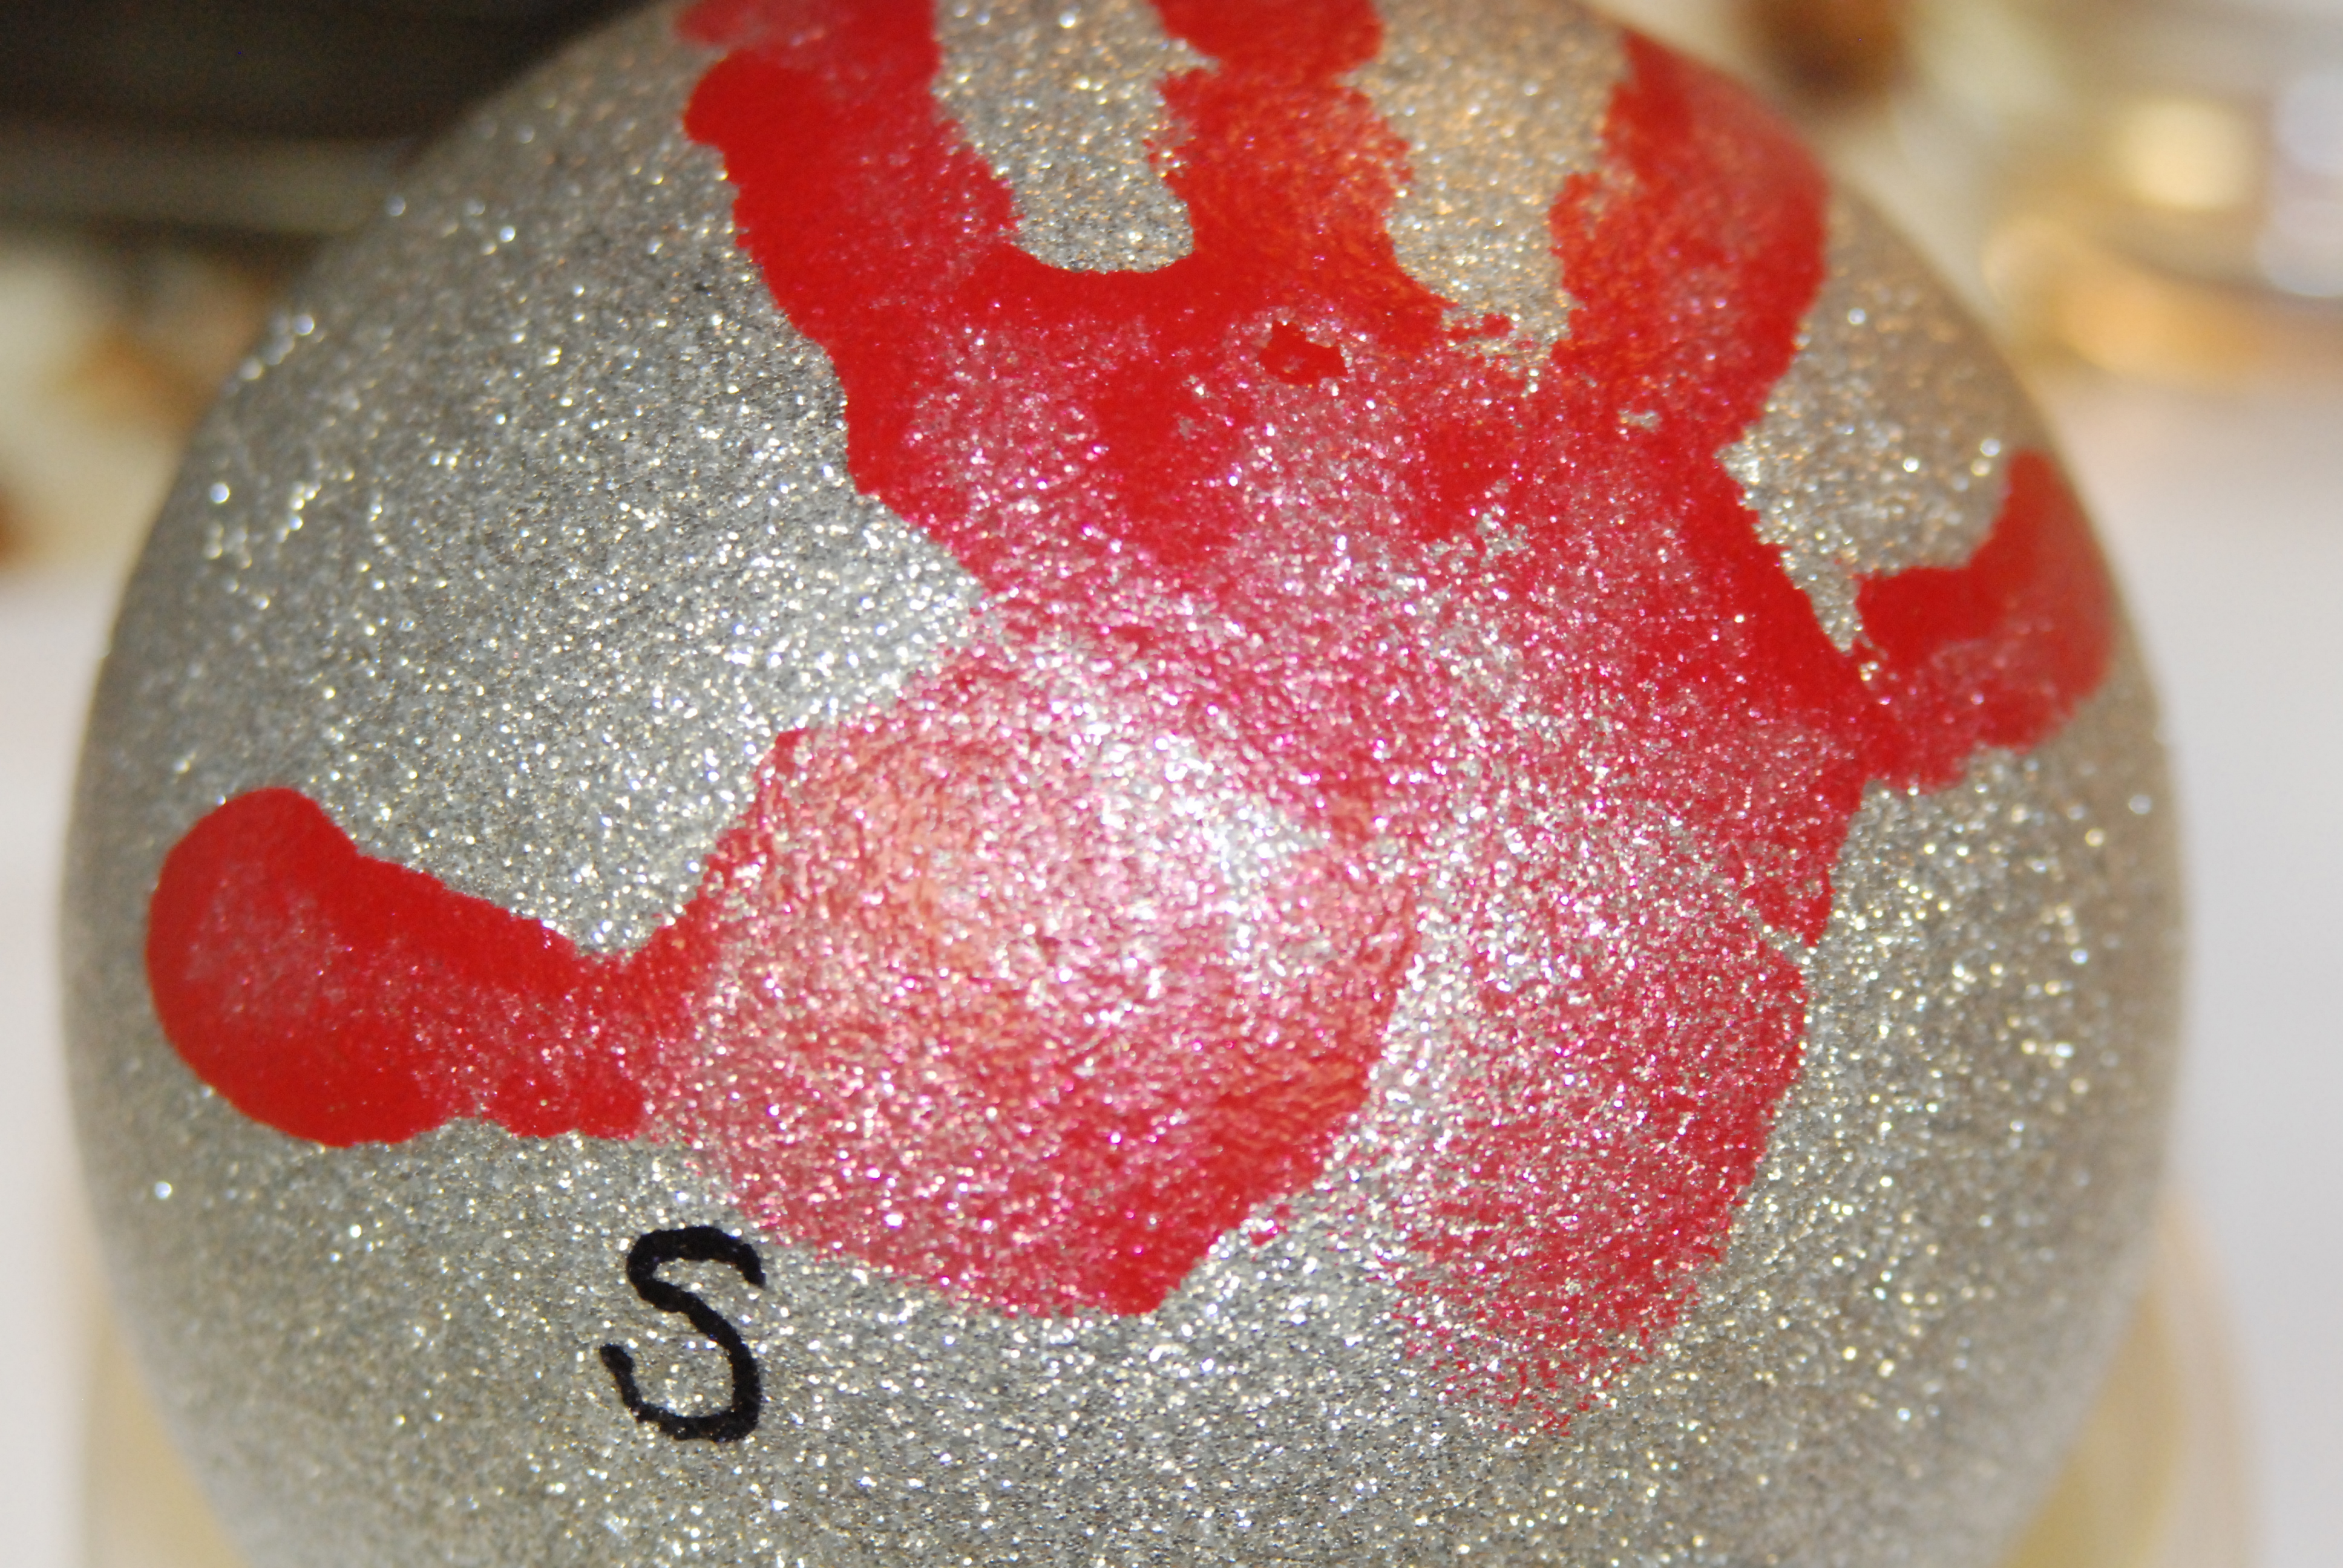
*Step 3 for infants and babies: Make sure the baby has napped and eaten recently. Convince another adult to assist you with a project of “great sentimental value”. Smile when you ask for their help and tell them how marvelous they are. You really cannot do this step alone, really. Trust me, I’ve tried to do it by myself other years. Have adult #1 hold the baby and hold one of the baby’s hands at the wrist. Meanwhile adult #2 should hold the paper plate with paint and the ornament. Now, working together as a well-oiled machine, get paint onto the baby’s hand and smoosh it onto the ornament. At this point adult #1 will also have paint on one or both of their own hands and adult #2 will wonder what they are supposed to do with the paper plate full of wet paint and the ornament now covered in wet paint, adult #2 may also have wet paint on one or both of their hands. To recap, that is one baby, two adults, a paper plate and an ornament all with wet paint on them. Try not to panic. Adult #2 (the one not holding the baby) should clean up first so they can assist adult #1 (still holding the baby). Once everyone is cleaned up, pat yourselves on the back and marvel at the priceless keepsake you’ve created (if you’re especially lucky it might even look a little bit like a hand print)!

Thanks so much to my wonderful husband for helping me make these… again!

Thanks for the yearly ornaments. I know how much the kids enjoy having us receive these darling ornaments, because I see their faces light up as we open the present, and then they rush in to get a well deserved hug and kiss as we praise the end product we get to cherish. Now I also have insight into the creative process that goes into these darling mementos. Thanks again. Love Mom
LikeLike
Great post. Funny, great instructions and a super cute finished Christmas present.
LikeLike
As a witness to many of these projects I really appreciate the timing and team work involved in not getting paint on everything within reach of those tinny hands. You do have a wonderful husband! and so patient.
LikeLike